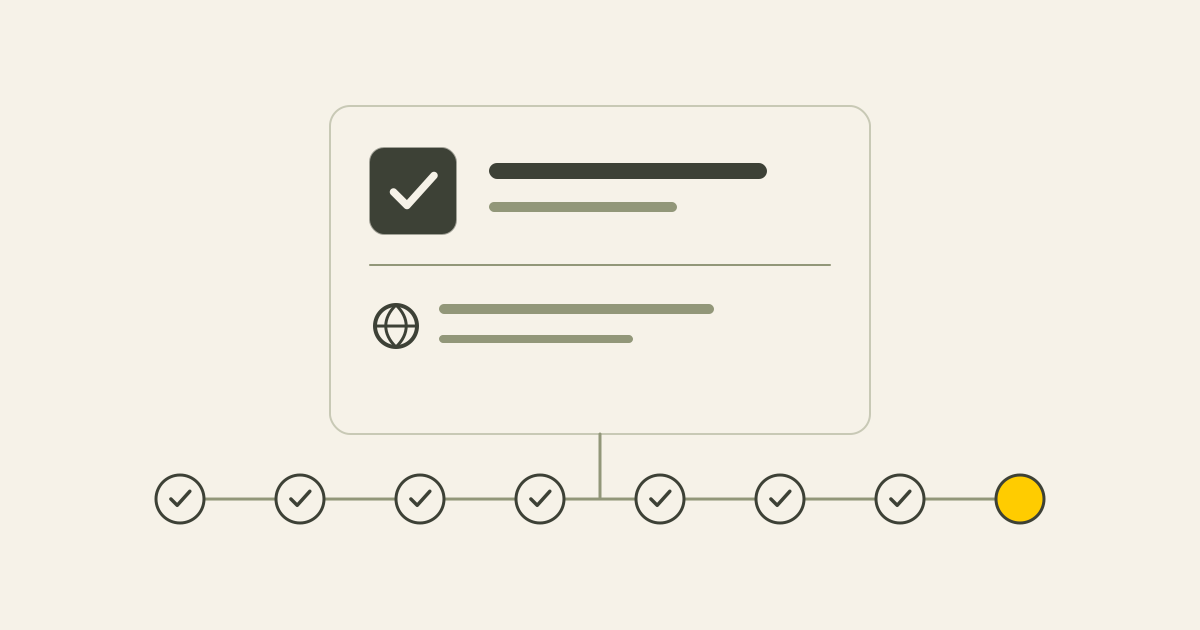
Create a ChatGPT business profile in 8 steps
A clear walkthrough of the website verification route, including the checks to make before submitting.
In this article
Short answer
Open Business Hub, find or create the eligible business listing, follow the verification options offered and complete the required identity checks yourself. Review the terms and details first: approval of a new profile can publish it automatically.
Key points
- Available claim methods vary. The guide also explains the website and DNS route.
- Add a requested DNS record without removing or overwriting existing records.
- Domain verification and identity verification are separate checks.
- A profile does not guarantee recommendations, visits or enquiries.
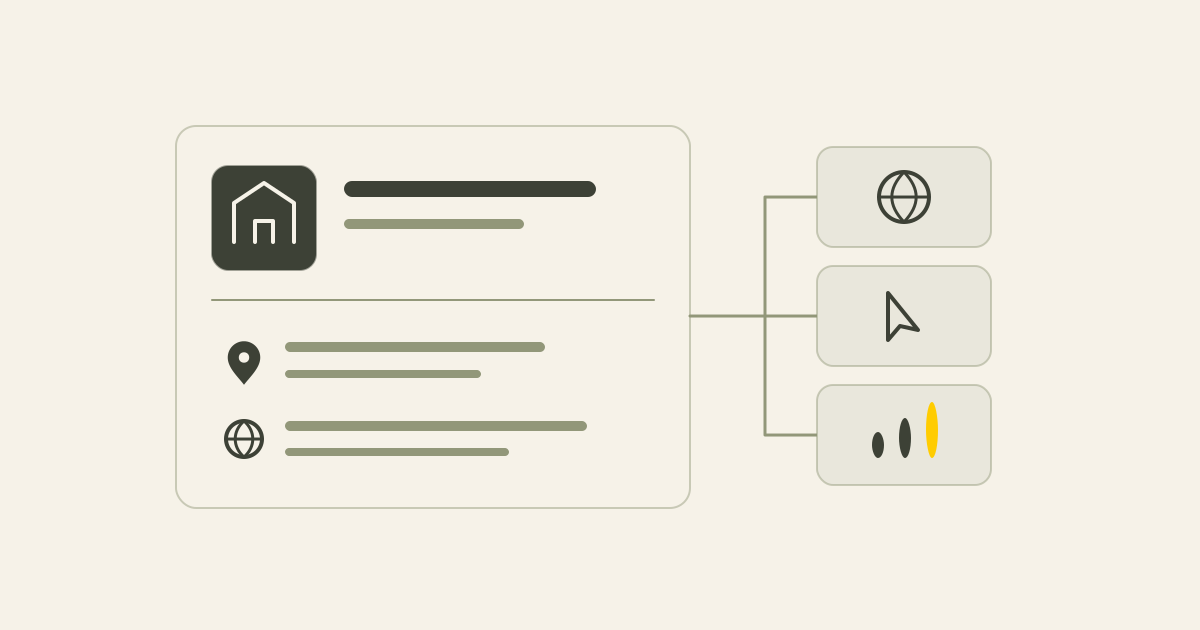
Business Hub lets an eligible business claim a profile or add one where that option is available. The beta launched on 10 November 2026. Follow the current screens in your account, as the steps and availability can change.
Before you start
Have the ChatGPT account you intend to use, your business name, website address, contact details and a short description ready. If you choose domain verification, arrange access to the active DNS settings or help from the person who manages them.
Availability depends on your business type and location. Local shops and restaurants currently have a different route limited to existing US listings. Check the official eligibility guidance before entering information.
Read why you might create a profile if you first want to weigh the benefits, privacy considerations and limits.
1. Open Business Hub
Go to ChatGPT Business Hub and sign in with the account that will manage the business. Read the Businesses in ChatGPT terms before continuing.
Section 4.1 of the terms, updated on 18 November 2026, explains that OpenAI's AI assistant may call your business on users' behalf when you use Business Hub. That section includes an opt-out link if you do not want those calls.
2. Find the right business
Search for your business name and select the correct existing listing. If the business is eligible and no listing is found, the account may offer a Create option.
Check any previous business name as well. Avoid making a second profile for the same organisation. If the listing is already claimed or locked, use the support or ownership-dispute route shown.
3. Choose the business type and website
When adding a new profile, you may first be asked how customers interact with the business. Choose the type that accurately describes it. An online-business route may be labelled Through a website.
If a website address is requested, enter the full address, including https://. For an existing listing, choose one of the verification methods shown. The options can include a business phone, business email, website domain or Shopify store. They vary by listing.
For phone or email verification, receive a code through an offered method and enter it in Business Hub. For Shopify, use the offered store connection and review its permissions. If the listed phone or email is unavailable to you, check whether another method is offered. The next step explains domain verification.
4. Verify control of the domain
Use this step if Website domain is offered and you choose it. An offered phone, email or Shopify verification route does not require adding a DNS record for that check. Follow the remaining prompts for your business.
If Business Hub asks for a TXT record, copy the type, name or host, and value exactly from that screen. A TXT record is a short piece of information added to the domain's DNS settings to demonstrate control.
The simplest route is often to ask your website or DNS manager to add it. The active DNS provider may differ from the company where you bought the domain.
If you add it yourself, create a new TXT record in the correct DNS zone. Check whether the provider automatically appends the domain name to the host field. Do not delete or overwrite existing records, including email-related records. Use the provider's current official instructions.
Return to Business Hub and select Verify domain. DNS changes may take time to become visible. If verification fails, check the active provider, full hostname and complete value before trying again.
5. Choose a category and description
A new-profile flow may ask for these details during setup. Publishing changes to an existing profile requires approval of both the claim and Persona verification. The order of the screens can therefore differ.
Select the closest accurate business category. Explain what you do, who you help and the services you offer. Make the description consistent with your website and keep it within the field's limit.
For example: 'Hartog Growth helps small businesses with websites, SEO and AI search visibility. You work directly with Timothy Hartog. Website projects include agreed SEO foundations. Additional research and ongoing SEO are agreed separately.'
6. Add business contact details
Enter the details requested and check the country code. Use +44 for a UK number or the appropriate code for the business's real location.
Use the profile preview to check the display. If the flow asks for a phone code, follow the verification options offered to you and enter the code yourself. Optional fields do not have to be filled merely to continue.
7. Complete identity verification
Claim verification checks your connection to the business. Persona checks your identity and authority. Both approvals are required before you can publish profile changes, view insights, connect a product feed or set up an eligible business agent. Successful domain or Shopify verification does not replace Persona approval.
Open your profile in Business and look for Complete verification with Persona. Use the verification option shown and follow the official Persona process yourself. You may need an identity document, business registration information and proof of authority. Match the legal business name, address and any registration or tax number to your official records.
Persona says the organisation requesting the check can have access to the documents and verification result. Read the notices in your own verification flow to understand the arrangement that applies to you.
Persona's identity-verification privacy policy says it does not use personal verification data, including biometric data, for AI or model training or for marketing. This describes Persona's processing. It is not a general promise about every party or your public business information.
You can request deletion from Persona and the organisation requesting the check. Legal or other applicable retention obligations can limit complete or immediate deletion. The public guidance does not give one fixed retention period for this particular Business Hub check.
If a selfie comparison is requested, read the explanation and express-consent information about any processing of facial or biometric data before continuing. Ask for clarification if the use or retention is unclear.
Keep identity documents out of public descriptions, photos and other business profile fields. If you create a new profile through Persona, approval publishes it automatically without a separate publication step. Confirm that the public details are ready before submitting.
Only an unpublished draft profile can be deleted. OpenAI says Support cannot delete, unpublish or hide a published profile as part of a business setup or ownership request. Decide whether you are ready for publication before submitting the check.
8. Wait for the decision and check the profile
Both the claim and Persona check need approval for the functions that require them. OpenAI emails the decision or asks for more information. Timing varies. Wait for the review instead of assuming a fixed turnaround.
After the required approvals, review your public details and available insights. OpenAI reviews and publishes profile changes, which may take time to appear. Agent publication remains a separate optional step for eligible businesses.
Keep the website, service descriptions and contact details current. Insights are aggregate and can be incomplete. A click is not an enquiry, and an empty metric does not necessarily mean zero activity.
If something does not work
Use the verification route offered for your actual business. For DNS problems, check the exact record with your provider. For eligibility, ownership or identity issues, use OpenAI's support process rather than trying a different business type.
A profile gives you a way to provide information. It does not provide exclusive control over answers, and it does not buy a higher position. Continue to maintain the reliable sources about your business.
Need help with the setup?
Prepare the information, check the terms and privacy notices, then complete the required steps through the official process. If you need help with your website information or the domain verification record, we can agree that work separately.
Sources
This article uses the following external sources.
Author
Timothy Hartog, SEO specialist and web designer at Hartog Growth.